How To Setup Your Shopify Store To Accept Bitcoin
 Ever since November 2013, Shopify has made it possible for any of the 75,000+ e-commerce stores built on its platform to accept Bitcoin as a payment mechanism. As a result, adding Bitcoin payment options for any Shopify purchase is now fast, easy and surprisingly convenient.
STEP ONE: Enable alternative payments within Shopify
The first step is to enable what Shopify refers to as “alternative payments.” Go into your Shopify account, head over to Admin, and then click on Payments. There, you’ll see a short list of alternative payment mechanisms that can handle Bitcoin: Coinbase, BitPay, and GoCoin. Once you’ve enabled any of these options, you can easily link to your bank account, which makes it possible to convert Bitcoin into the local currency of your choice (i.e. dollars). You can think of Coinbase or BitPay as a temporary wallet that holds Bitcoin until you’re ready to cash out.
For the sake of example, let’s assume that you choose Coinbase as your alternative payment mechanism…
STEP TWO:
Now, you’ll want to head over to the Coinbase website and set up your Coinbase account. (You would take the analogous step if you were using BitPay or GoCoin)
Sign up for a Coinbase account

Sign up for Bitpay

STEP THREE: Create a Coinbase merchant profile (currently unavailable but should be available soon)
You now need to tell Coinbase that you are a merchant and not an individual user. Within Coinbase, follow the links for “Open a merchant account.” You will then need to fill out a merchant profile. Once you’ve done that, Coinbase will be ready to recognize you as an e-commerce shop owner.
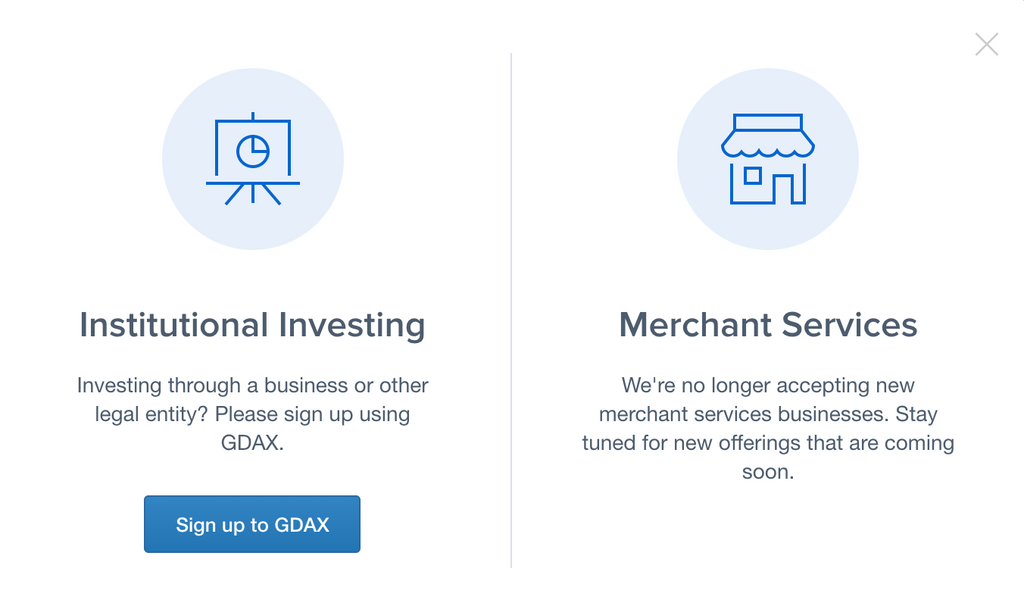
At the current moment Coinbase are no longer accept new merchants but this should change soon.
STEP FOUR: Go over to your Shopify store and connect your Coinbase/Bitpay account

The next step is simply to connect your Coinbase account to Shopify. This makes intuitive sense if you think about Coinbase (or BitPay) as a type of external Bitcoin wallet. When a customer buys a product from you and pays in Bitcoin, you will be receiving this payment in your Bitcoin wallet. So, obviously, you will need to have some kind of linkage from this Bitcoin wallet back to your Shopify store. Connecting Coinbase to Shopify squares the circle and makes everything work!
Once you’ve completed these four easy steps, you’re ready to start accepting Bitcoin payments from anyone in the world! What’s so exceptional about this Bitcoin integration from Shopify is that it appears completely seamless to both the customer (the buyer who is paying in Bitcoin) and the seller (the e-commerce store that is accepting Bitcoin). For the customer, paying with Bitcoin is just like paying with a credit card. And for the Shopify store owner, accepting Bitcoin is just like accepting any other payment.
The only thing that you’ll want to keep in mind are the fees. Since both Coinbase and BitPay are external service providers, there are very minimal fees to keep in mind. Coinbase charges no fees for the first $1 million in payments; after that point, it charges 1% fees for every transaction. BitPay charges no fees for a Bitcoin transaction as long as you’re paying a monthly subscription fee; if you are not, then BitPay will charge a 1% transaction fee.
The choice of Coinbase or BitPay is up to you, but you can see that for a small Shopify store just getting up and running, Coinbase is the preferred option because it doesn’t charge fees until you’ve hit $1 million in sales. (That’s why we used Coinbase in the example above) So if you’ve been putting off adding Bitcoin to your Shopify store, you can see that there’s no longer any reason to delay. In 30 or minutes or less, it’s possible to add Bitcoin integration to any Shopify site.
If you want to find out more reach out to use at Hopatoo at hello@hopatoo.com.


